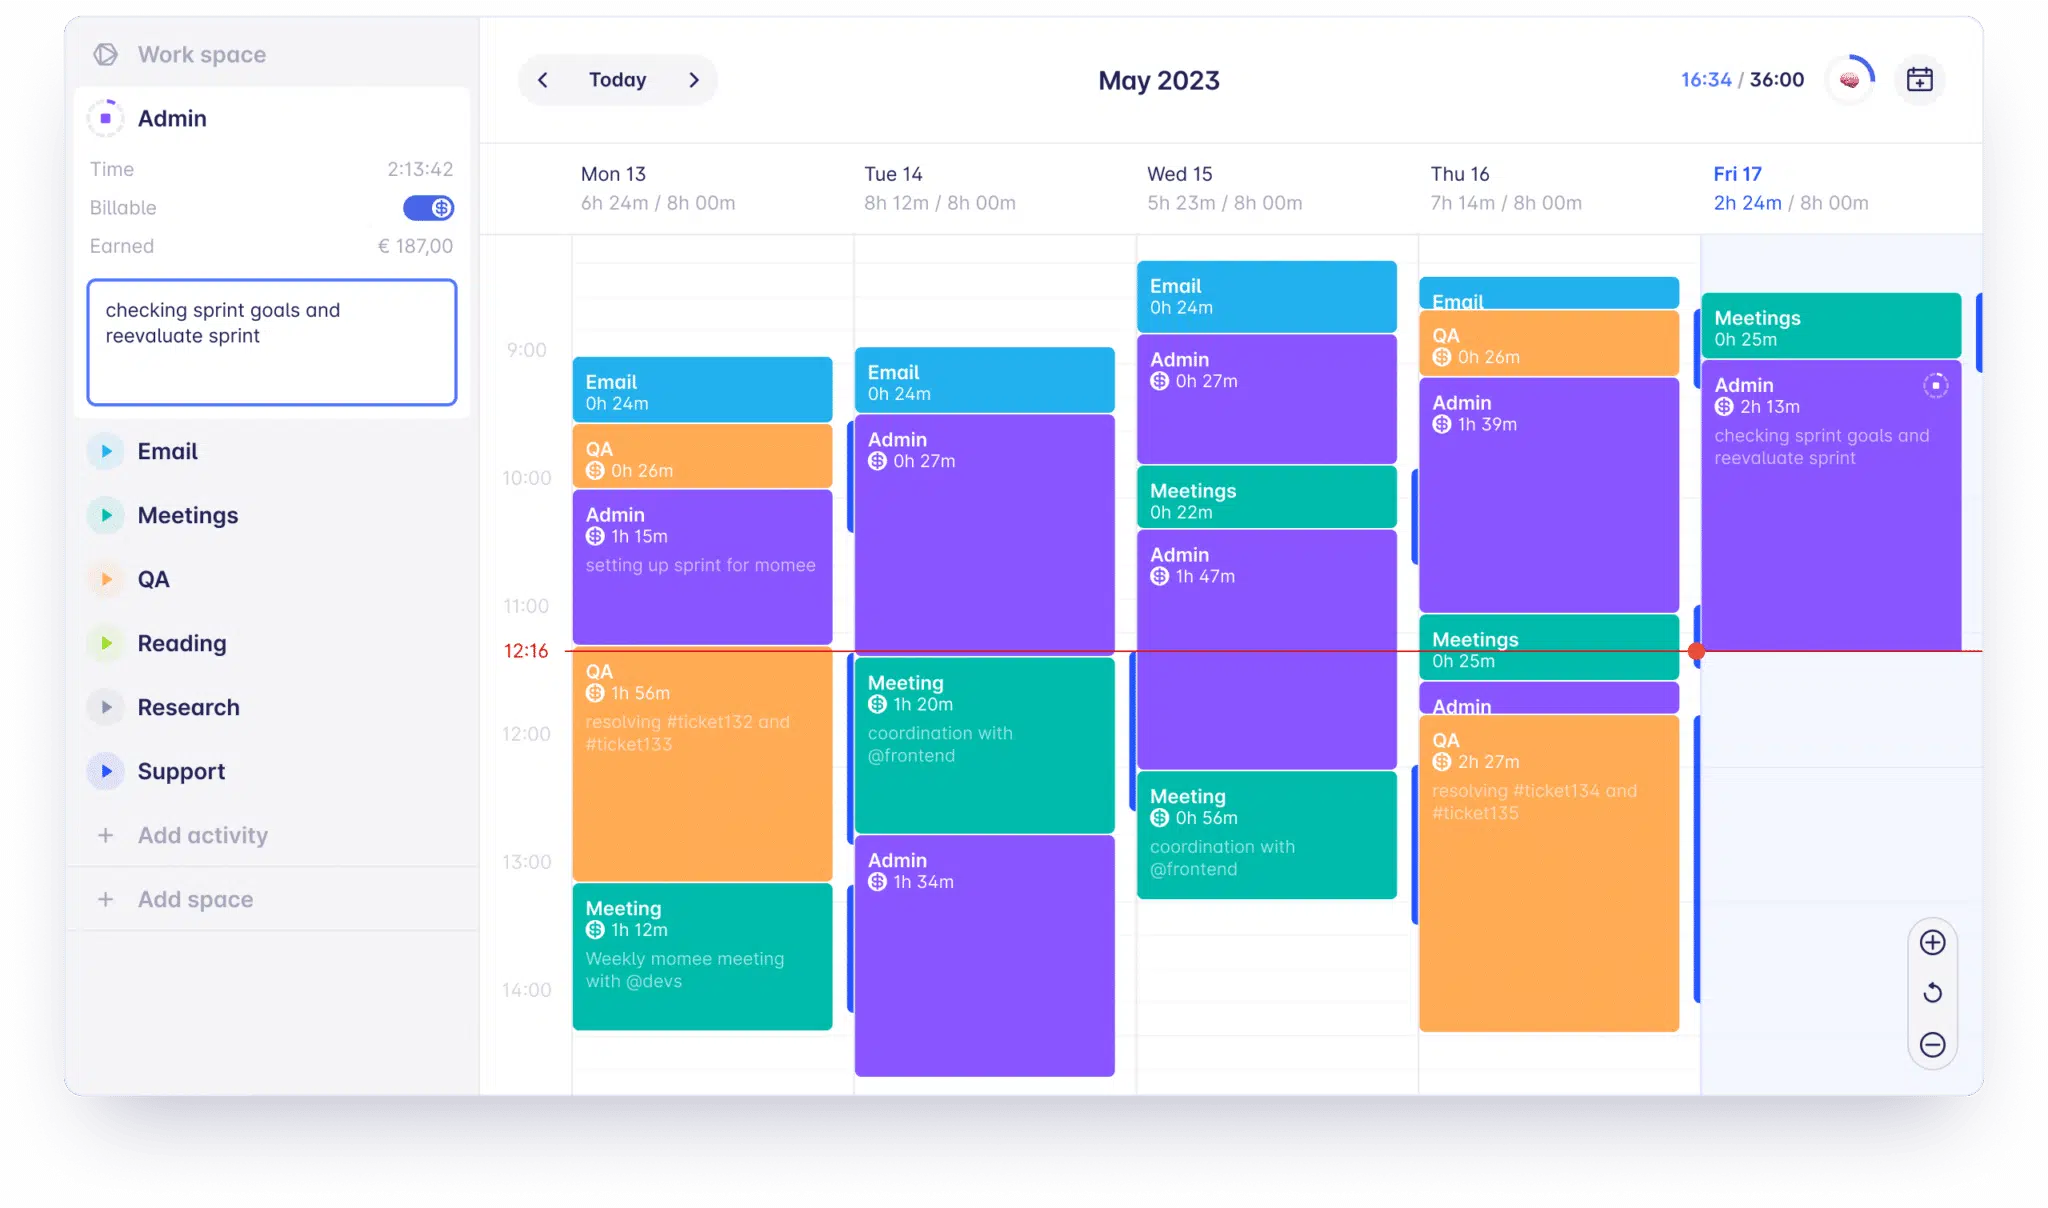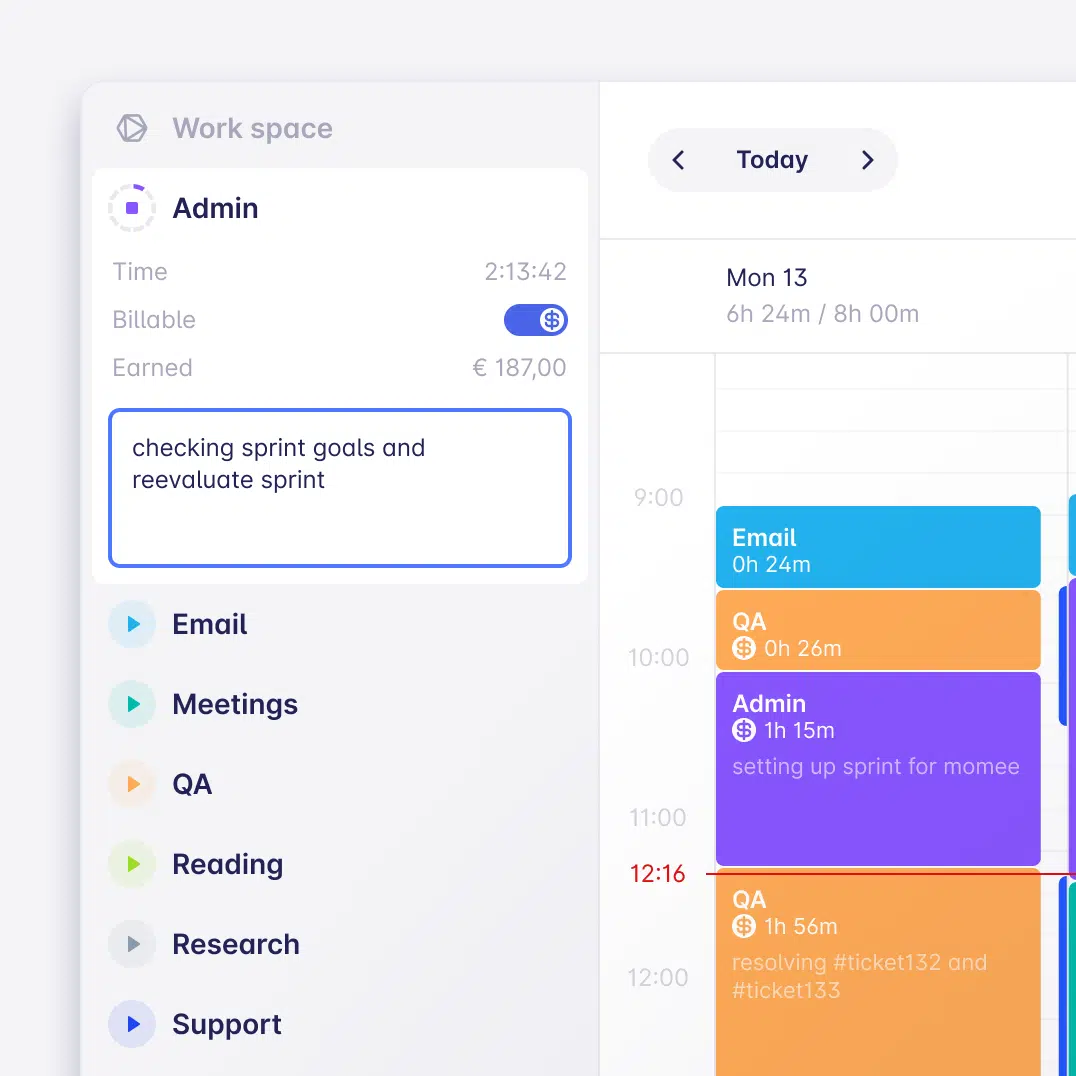
Organize projects into folders, assign activities that should be tracked and decide which ones to bill with set hourly rates.
Invite your team and assign roles to control team access.
Define separate #tags and @mentions for each folder and include a note with each entry.
Create custom reminders to start tracking and switch activity when a set period of time has passed.
Capture 100% of your working hours, ensuring accurate data that leads to more billable hours.
360º privacy to protect you and your team. 24-hour delay for anti-surveillance. Fully GDPR compliant.
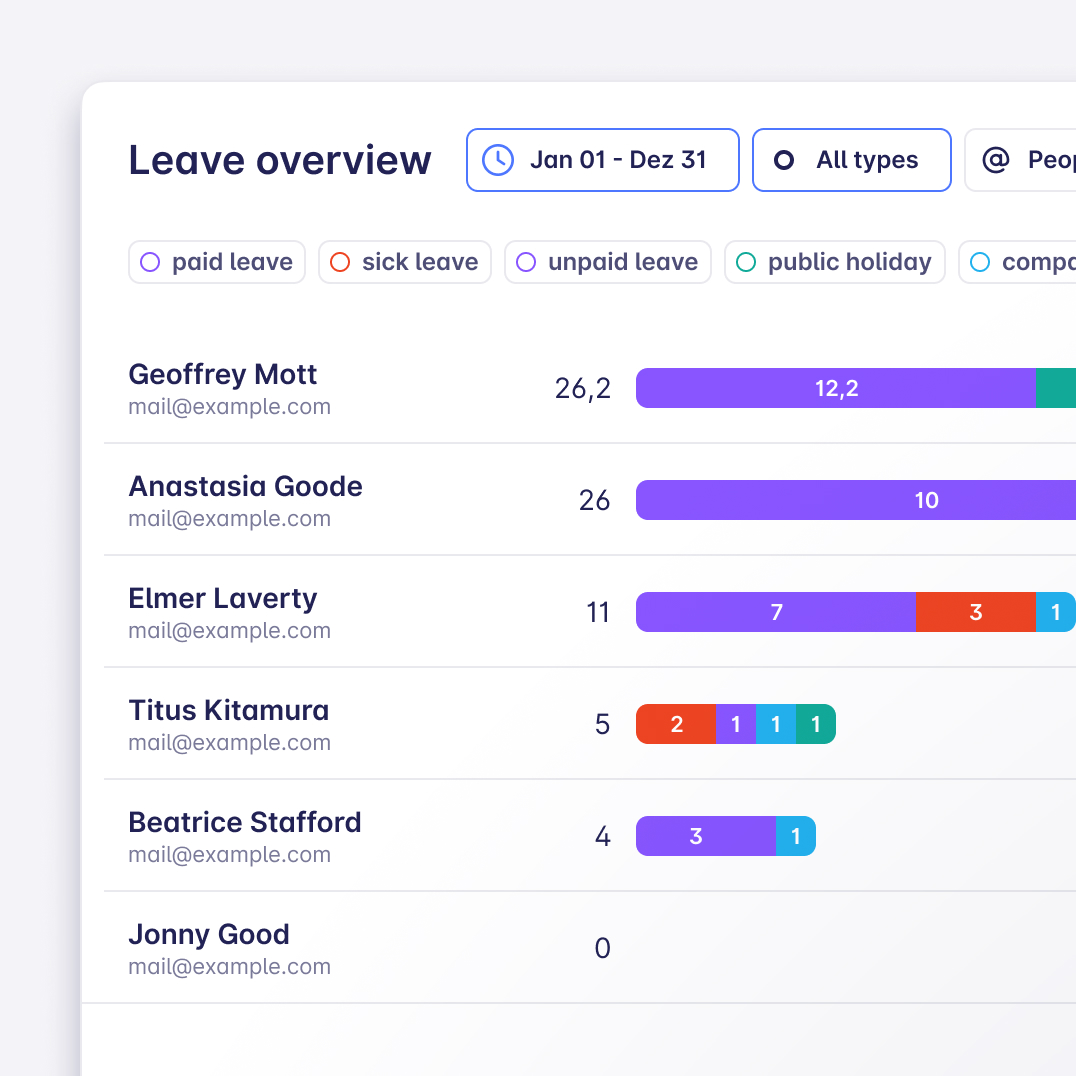
Paid and unpaid leave, sick leave, compassionate leave, public holidays, duvet days and time off in lieu. We’ve got them all.
Set your daily working hours based on any contract type. Work different hours on different days? Not a problem.
Workspace admins can generate reports with an overview of leave in the insights section.
Make time tracking tactile and easily track 1,000 activities using just 8 sides. Build a habit using muscle memory and a powerful physical reminder.
Use the Quicktrack shortcut to load the popup and start and switch between activities without needing to enter the desktop app.
Take Timeular with you wherever you go. Easily track time on the go using our mobile app to log activities with the option to add notes and tags.
Context tracking visualizes which apps and websites you’ve used throughout the day, so you can easily fill your timesheet.
Use Timeular for Desktop on macOS, Windows & Linux, or use our Web app. Mobile companion app available on iOS & Android.
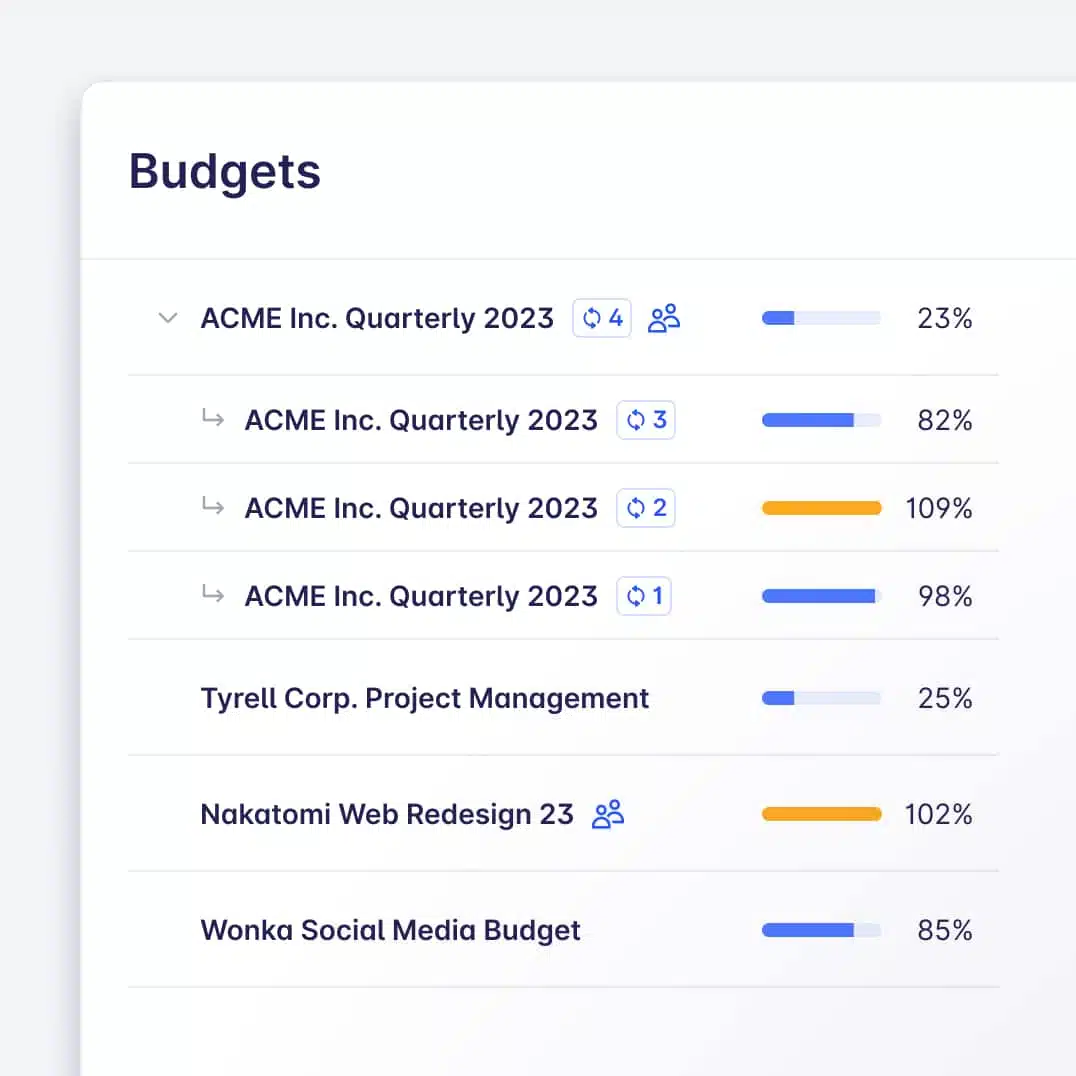
Choose the frequency of your budgets. One off, weekly or monthly and repeating for as long as you choose.
Choose to keep the budget just for you or to share it with your team to include all relevant work.
Get alerts when you’re close to exceeding your budget so that you can take action. Stay on top of your projects and clients and improve your profitability.

Apply filters to drill down into the information you need. Round up or down to tidy things up. Save filters you frequently use.
Customize your reports by selecting the information you want to export in the format you require.
Analyse your data through our weekly reports which identify trends and timesinks and give you an overview of how you’re spending your time.

Use Timeular to collect accurate timesheets and continue using your favourite payroll and invoicing tools.
Connect your calendars to easily fill in your timesheets. Subscribe to your timesheets in your favourite calendar app to compare the time planned against reality.
Create your custom integration with our public API.


Start tracking with ease
Increase profitability and bill accurately with effortless time tracking. Never chase a timesheet again.