The Best GitLab Time Tracking Integration For An Improved Experience
Whether you’re in the IT industry or not, you probably heard about GitLab – the web-based Git repository providing private and open repositories, issue-following capabilities, and wikis.
While GitLab is a complex DevOps platform, its time-tracking features might fall short for those who need more complex data.
For that reason, we’re introducing Timeular, as the best time-tracking integration for GitLab.
Looking for the smoothest timer tracker for GitLab?
You’ve just found it!
In this article, you’ll find all the benefits of time tracking within GitLab, how the native time tracking features can be used and why you’d need a standalone time tracking tool besides GitLab and a better alternative for time tracking in GitLab with Timeular.
What are the benefits of tracking time in GitLab?
Tracking time in GitLab adds up many benefits for software development professionals and teams. Let’s expand on some of them!
Resources and costs management
Time tracking can help you understand how your team is allocating their time between their daily tasks and projects. It’s also a great way to manage project costs and bill clients with accurate invoices. So, if you want to keep your team and clients happy, you know the answer: time tracking!
Increased productivity
With tracking time, you can assess the productivity of your development team and identify areas to improve. This can lead to more efficient development processes and even increase motivation among your team.
Transparency and communication
Knowing what the team is doing at all times can be great not only for project managers but also for all team members. If your team knows what projects are being handled, it can lead to more collaboration and coordination, improving the overall quality of work.
Alignment with priorities and goals
Prioritizing work might be a difficult task, especially for larger teams. However, with time tracking, you can identify which tasks or projects are taking up the most time, which will then allow you to prioritize and allocate resources to high-impact areas.
Read also: How to prioritize tasks at work
Can you track time on GitLab?
Yes, GitLab has some native time-tracking features. However, they have several limitations and might not fully cover your time tracking needs.
GitLab time tracking: How to do it?
To track time spent on GitLab projects, here’s what you need to do:
- To track time you need to have, at least, the Reporter role for the project you are trying to track.
- You can track time in 2 different ways: using the user interface or using a quick action. Let’s analyze both of them.
User Interface
- In the time tracking section of the sidebar, select Add time entry (). A modal opens.
- In the modal, enter:
- The amount of time spent.
- Optionally, you can enter when it was spent and a summary of the task.
- Select Save.
Quick Action
In the code, use the /spend quick action, followed by the time. For example, if you need to log 1 month, 2 weeks, 3 days, 4 hours, and 5 minutes, type /spend 1mo 2w 3d 4h 5m.
To log when time was spent, enter a date after the time, using the YYYY-MM-DD format.
For example, to log 1 hour spent on 31 January 2021, enter /spend 1h 2021-01-31.
Note: These time tracking methods might modify over time. For up-to-date information, always refer to GitLab’s official documentation.
The limitations of GitLab’s time-tracking features
GitLab’s time-tracking features present several limitations. Let’s check some of them:
- Manual entry: every time you need to track time in GitLab, you need to do it manually. This means that the accuracy of the date will always depend on the diligence of individuals in recording their time.
- Complex for non-technical users: GitLab is mostly used by software development and technical teams. Its interface and time-tracking features may be perceived as complex for non-technical users, turning time-tracking into a difficult task.
- Lack of advanced reporting: While GitLab presents some kind of time-tracking reporting features, the format might be considered over simplistic for teams looking for more advanced time-tracking data for their projects. If this is your case, GitLabs’ native time-tracking features are not the best solution.
Timeular: the best time tracking integration for GitLab
If you are looking for a user-friendly, intuitive, and powerful productivity tracker app, Timeular is perfect for you. Used globally by more than 50.000 users, it presents several advanced time tracking tools and features for development teams. Let’s explore some of them.
Physical Time Tracker: a visual reminder to track time
Imagine having an object that not only reminds you to track your time but also is connected to your time-tracking software. With Timeular’s time tracker, this can be a reality! With a simple flip, you can start tracking your work there’s not need to start an app or access your project management tool, just flip the cube – it’s that easy! A habit so simple that will be easily integrated into your daily activities.
Note: The tracker is not mandatory – you can still enjoy Timeular’s time-tracking features by simply using the app. However, the tracker will make time tracking much more engaging and intentional.
Choose your time-tracking method
Do you prefer to track time manually, with keyboard shortcuts, or are you looking for an automated time tracker? Or maybe you need a visual reminder and are a fan of our physical tracker?
No matter what your choice is, Timeular is ready to deliver it. Choose your preferred method and get ready to take time tracking to the next level.
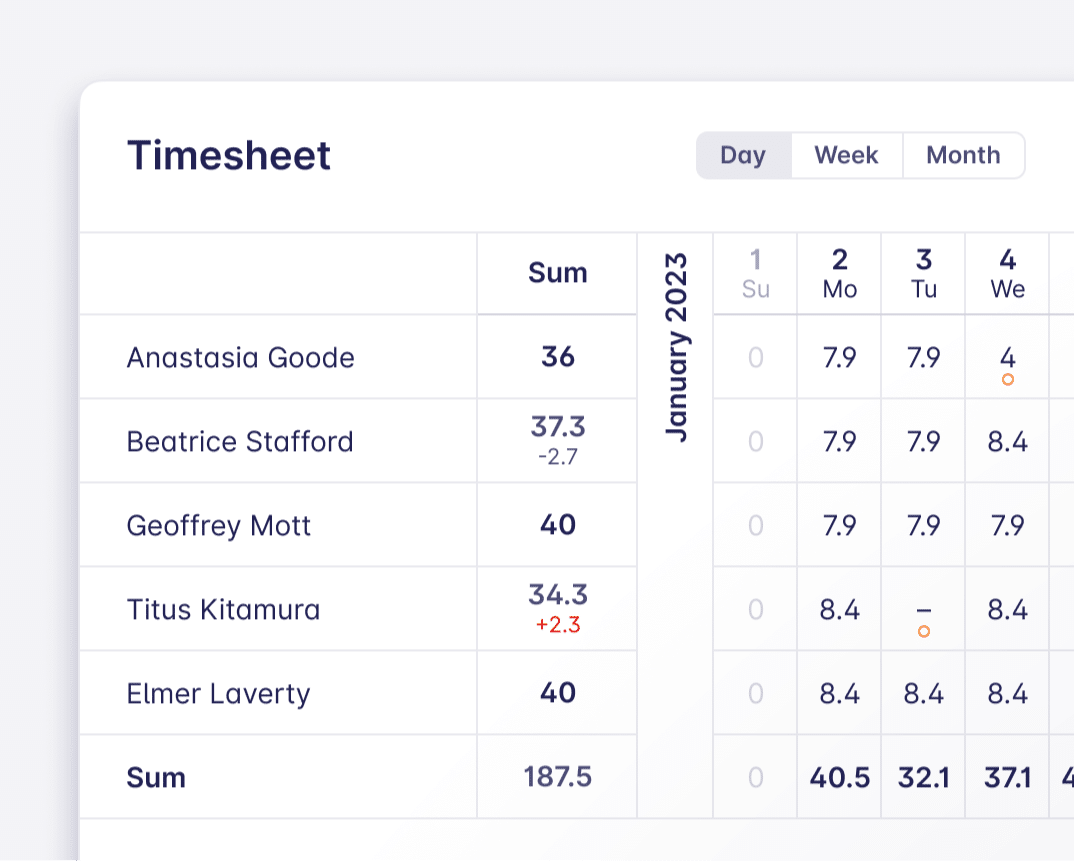
Track tasks, activities, and projects
Timeular project time tracker that integrates smoothly with GitLab. Timeular, as a project time tracker allows you to track tasks, activities or specific projects, based on your needs and preferences you and your team have.
By being able to track all the above or only one of them, the data generated by diligently tracking, will help you with accurate project estimations, to improve resource allocation, enhance productivity, and promote transparency.
With Timeular’s tracking capabilities, you gain precise insights for accurate client billing and efficient project management.
Accurate billable hours
Transparency and accuracy are expected by clients when receiving bills based on the data collected by the billable hours tracker.
With Timeular, both of them are guaranteed: your clients will only pay for the work that has been performed, and you will be able to bill all the worked hours: no more, no less.
Track your teams’ overtime
Working overtime must be rewarded, and Timeular knows that. With the overtime tracker, you will be able to track overtime and deficit hours based on previously configured work schedules and requested leave. Get paid for your work, always!
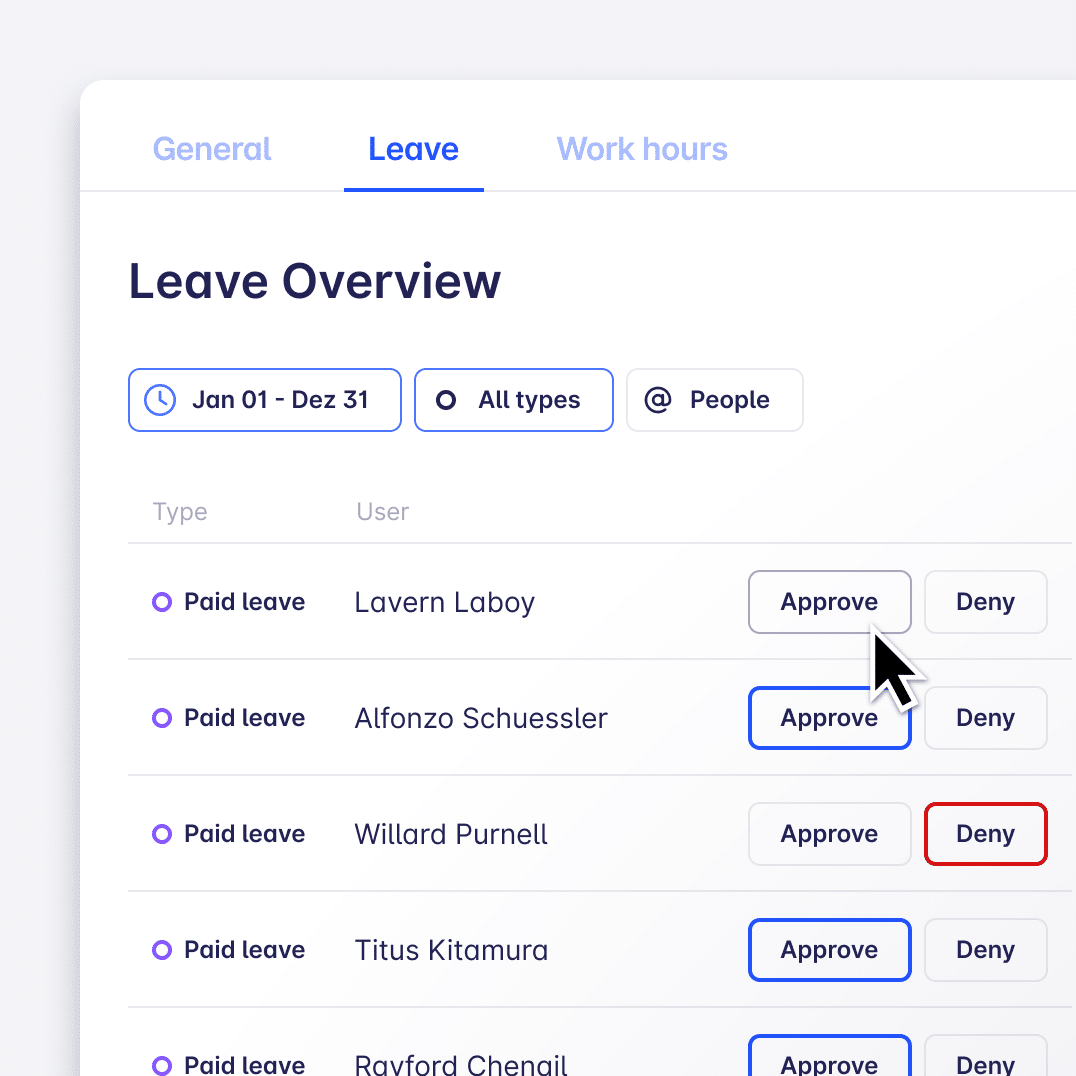
Leave management made easy
Besides being a standalone time tracker, Timeular is also a leave management tool, allowing you to manage employee absence leaves.
Streamline your time tracking processes and track leaves easily and intuitively, ensuring accurate time allocation for everyone.
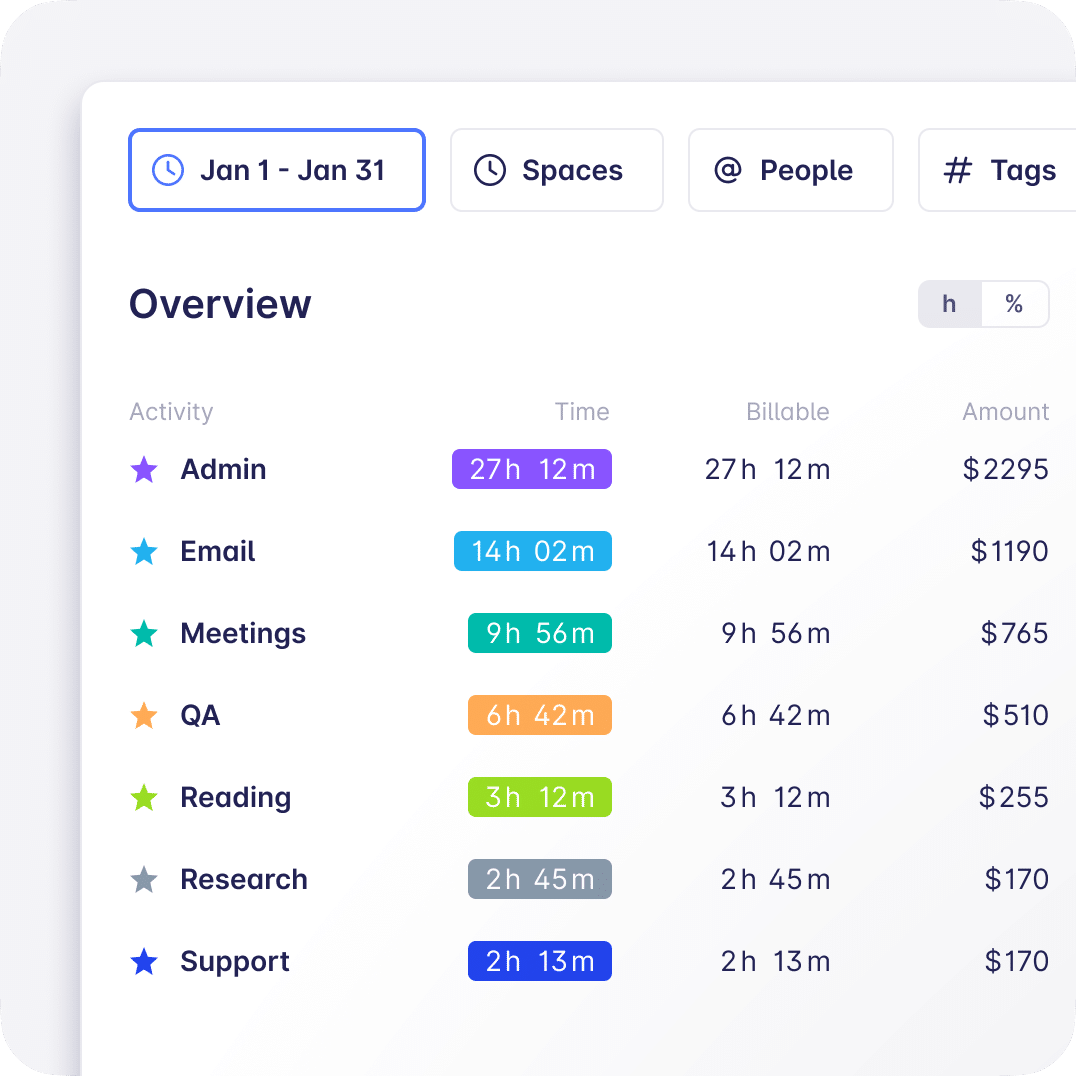
Advanced reporting and insights
Timeular offers several reporting features, allowing you and your team to analyze all your data gathered from time tracking efforts in order to optimize any process. Analyze where you should be spending more or less time, which clients have the biggest associated workload, and if the productivity could be increased.
How to track time in GitLab with Timeular
Integrating Timeular with GitLab is an easy process you can follow without the need to code. Follow the steps below and start tracking the time spent on your GitLab projects and tasks.
Step 1: Sign-up
First, you will need to make sure you’re logged into GitLab. Then, sign up for Timeular for free if you don’t have an account yet.
For this process, you will also need to create a Zapier account, which will be the connector between both tools. You can create a free account and enjoy up to 100 free tasks per month.
Step 2: Set up your “Zap”
Create a new “Zap” on Zapier, selecting GitLab as the trigger (“new task”) and Timeular as the action (“create activity”).
To connect Zapier to Timeular, you will need an API Key, which can be found in Timeular by going to Settings > My Account > API and then selecting ‘Create a new API key’.
Step 3: Launch your Integration
Now, it’s time to activate your Zap to connect your actions on GitLab to Timeular. Now, all the time spent on GitLab tasks will be accurately tracked on Timeular – it’s that easy!
For more information about integrating Timeular with Zapier, read our support article. You can also check our instructions video for more details:
Conclusion
Time tracking in GitLab is essential for development teams as it enables its users to perform a high array of operations and functionalities. It’s the perfect way to improve productivity within your team, maintain transparency and communication with external clients, and easily manage resources and budgets. However, if you rely only on GitLab’s native time-tracking features, you might end up with inaccurate data and rudimentary reports.
To address these limitations, take advantage of the best GitLab time-tracking integration with Timeular.
Timeular is comprehensive and complete team time tracking tool that will improve the overall time-keeping experience within GitLab.
Create a free Timeular account and discover the best GitLab time tracking integration, providing an accurate and intuitive experience to development teams.
You might be interested in: